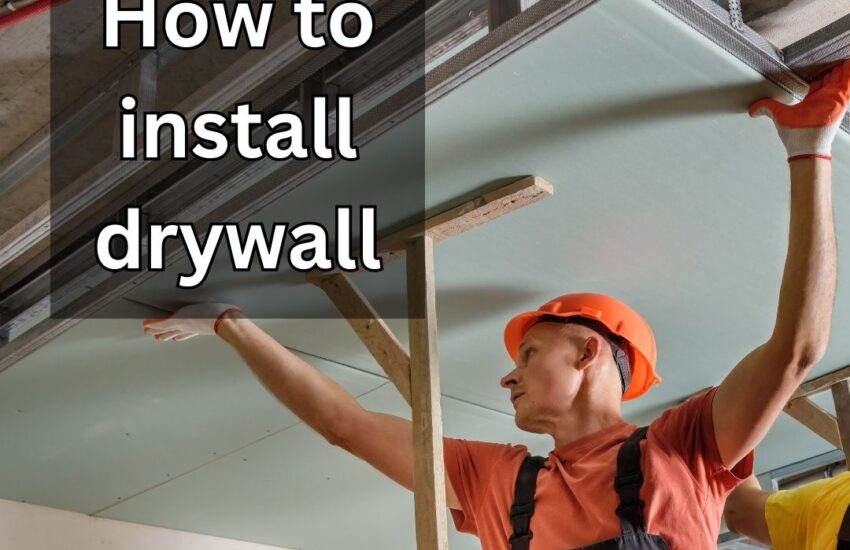
How to Properly Install Drywall: Essential Steps for a Flawless Finish in 2025
Drywall installation is a fundamental skill for DIY enthusiasts and professional contractors alike. Understanding how to install drywall effectively is crucial for achieving a flawless finish in your home improvement projects. Whether you are a beginner or have some experience under your belt, this installation guide will help you navigate through the process smoothly and efficiently.
Understanding the Drywall Installation Process
The drywall installation process involves several key steps, from planning and measuring to cutting and finishing. To start, ensure you have the right drywall sheets that match your project requirements. Choose appropriate drywall types based on where they will be installed, like moisture-resistant drywall for bathrooms or soundproof drywall for shared walls. Once you’ve selected your materials, measuring drywall accurately is imperative. Incorrect measurements can lead to waste and additional costs.
Tools for Drywall Installation
Before you dive into the installation, gather essential drywall tools. Basic tools include a utility knife for cutting drywall, a T-square for measuring and marking, drywall screws for attaching sheets, a screw gun for efficient installation, and a taping knife for applying drywall mud. Having the right tools ensures a smoother installation process and a more professional finish.
Measuring and Cutting Drywall
The first practical step in the drywall installation guide is accurately measuring the space where you will be hanging drywall. Use a measuring tape and a drywall layout planning tool to ensure each sheet will fit properly. When it comes to cutting drywall, score the surface with a utility knife along your measurements, snap it for a clean break, and then cut through the paper backing. This technique ensures neat edges, critical for drywall finishing.
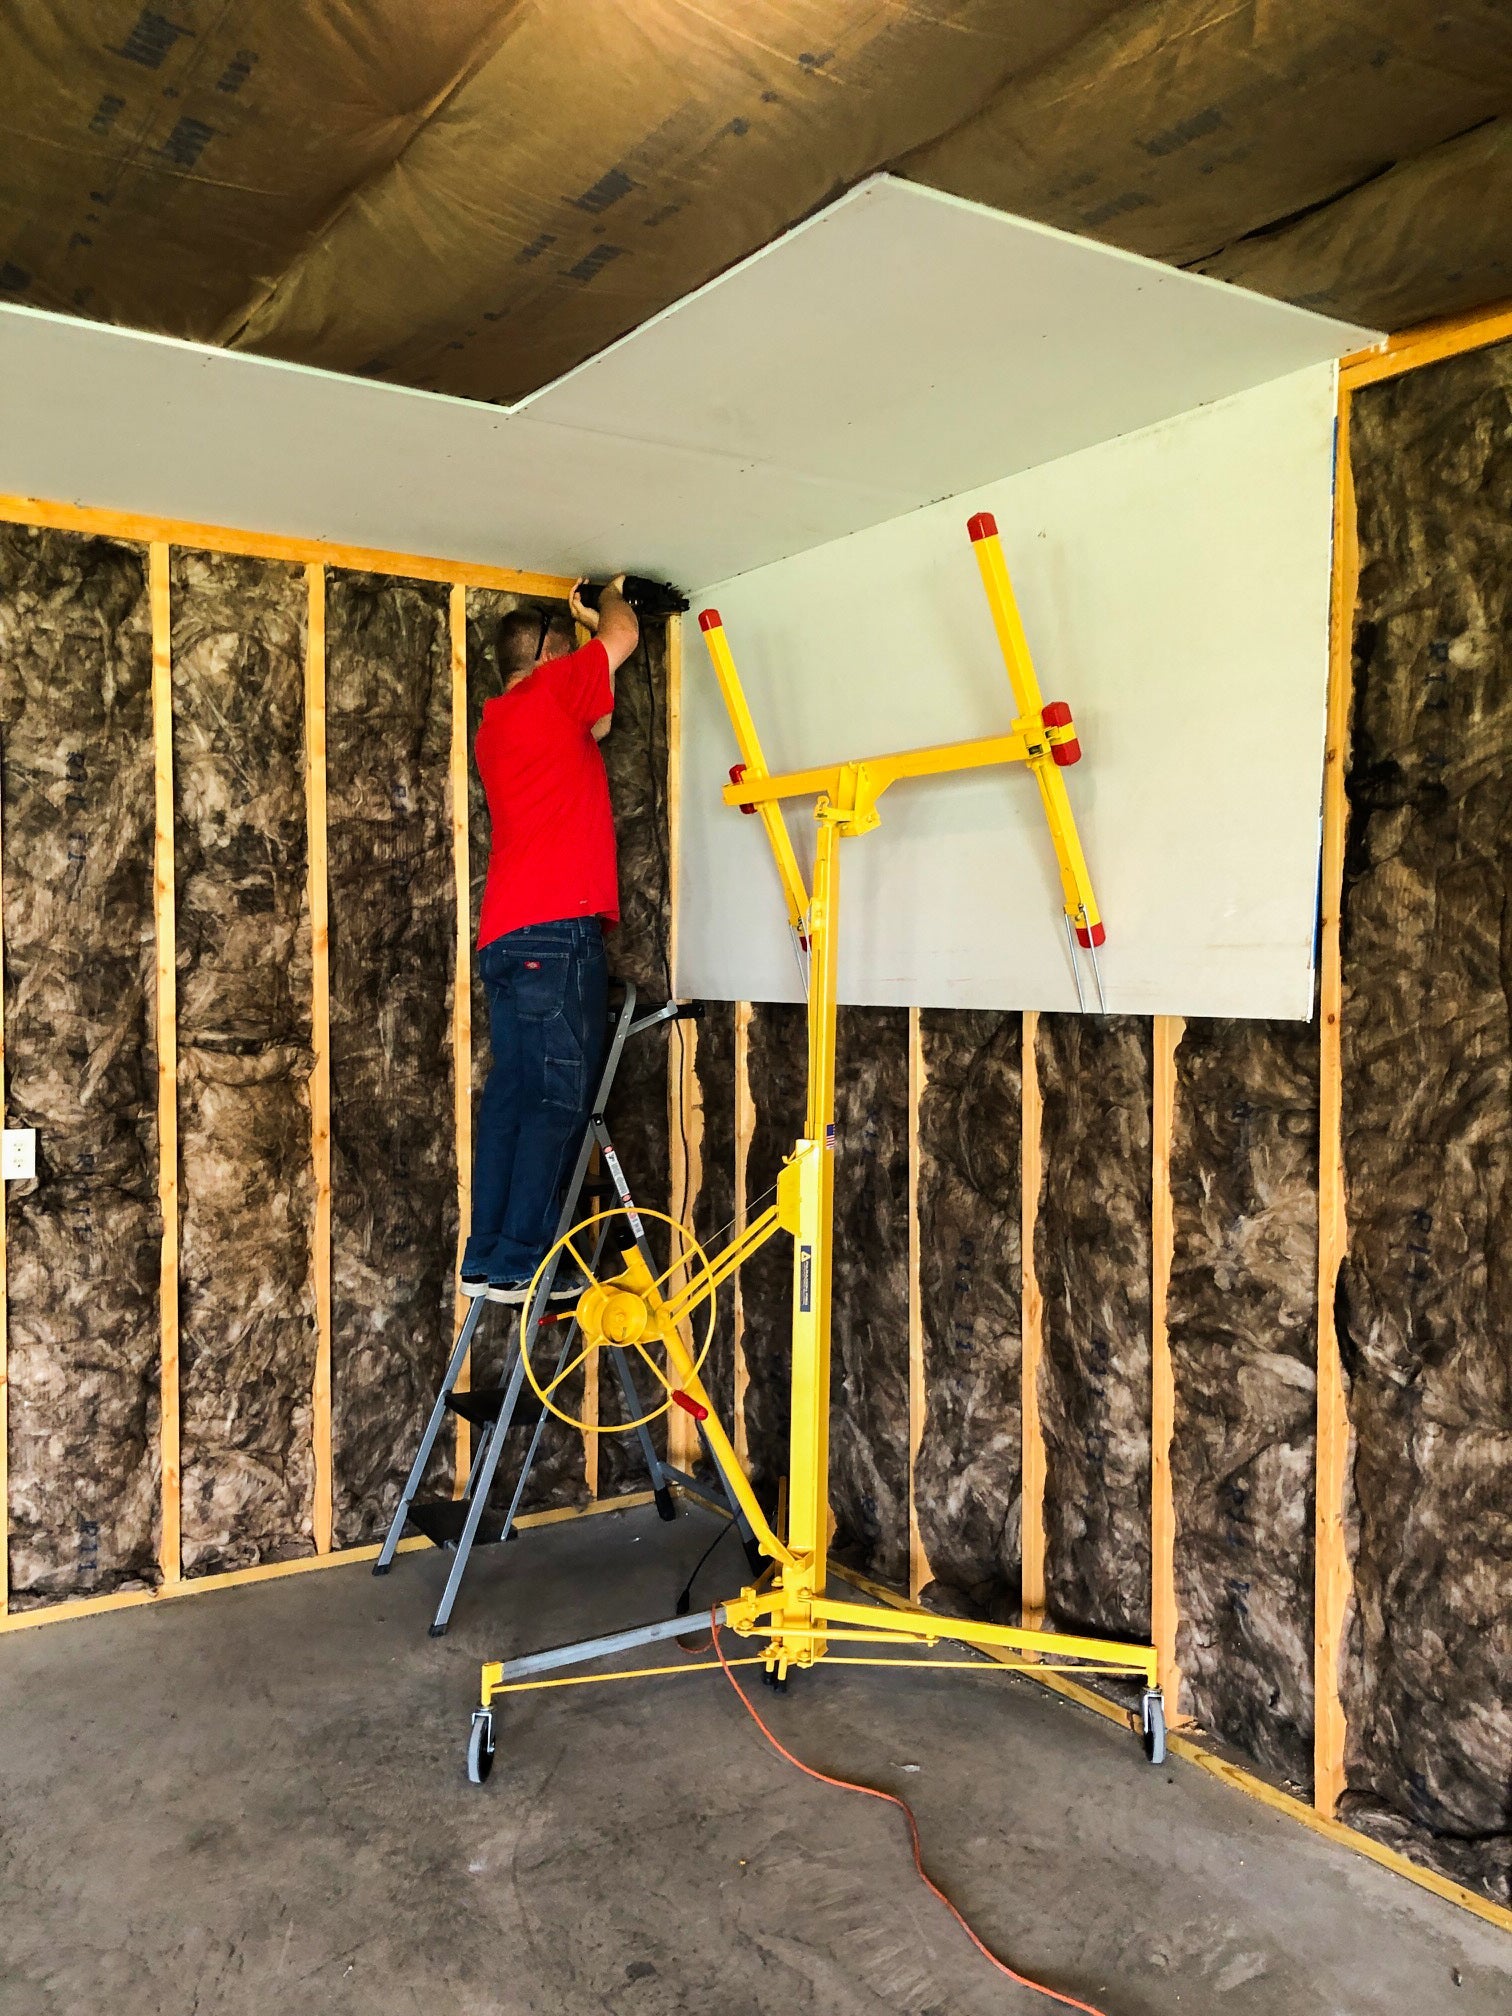
Hanging Drywall: Tips and Techniques
Once your boards are cut, the next portion of the drywall installation process is hanging drywall. Begin by hanging the drywall panels horizontally to minimize the visibility of seams. Using a drywall lift can make the job easier and safer, especially for ceiling installations. Remember to place each sheet so that its long edge runs perpendicular to the framing to enhance structural integrity.
Installing Drywall Around Windows
Installing drywall around windows can be a bit tricky, but it doesn’t have to be. Begin by measuring the opening accurately and cut your drywall sheets accordingly. Use a level to ensure the cuts are precise, and then use joint tape and drywall mud to finish the edges seamlessly. This attention to detail will ensure a polished look, enhancing the overall aesthetics of your room.
Applying Drywall Screws
When attaching drywall sheets to your framing, use drywall screws, which provide a stronger hold than nails. Screw every 16 inches along the edges and the middle of the panels. It’s essential to drive them just below the surface without breaking the paper; this will facilitate better adhesion for subsequent finishing layers.
Finishing Drywall for Flawless Results
The drywall finishing stage is where your project truly comes together. Begin by applying a layer of drywall mud over the seams and screw heads. You’ll then need to embed joint tape into the mud to reinforce the seams. Allow the first coat to dry fully before sanding it down to a smooth finish. This will create an invisible seam that blends the pieces together flawlessly.
Sanding and Texturing Process
Once the initial coat of drywall mud is dry, use a sanding block or pole sander to smooth out any imperfections. This step is critical for achieving the level of finish you want. Once smooth, you may choose to apply texture to create a specific aesthetic. There are various drywall texture options like knockdown or slap brush; research which texture suits your style best.
Drywall Finishing Techniques
After sanding and possibly adding texture, a final coat of joint compound is often applied. Apply the final coat with ample drywall mud to ensure all seams are well covered. Once dried, sand again gently, and be sure to wipe dust off before painting. Finishing is the last crucial element of the drywall installation guide that should not be overlooked if you’re aiming for a professional-grade finish.
Common Drywall Installation Mistakes and How to Avoid Them
No project is without its pitfalls. Recognizing common drywall installation mistakes can prevent significant headaches later on. One typical mistake is failing to stagger seams on butted joints—ensure you apply panels in a staggered pattern for structural stability. Also, check that every screw is driven into the wood framing correctly before mudding.
Drywall Installation Safety Tips
When engaging in drywall installation, safety should be a priority. Always wear appropriate safety gear, including goggles and a dust mask, to protect against particles generated during sanding. Utilize proper lifting techniques and consider a friend to help with larger drywall sheets. Not adhering to safety precautions can result in injuries that could halt your project.
Post-Installation: Maintenance and Repairs
Knowing how to maintain your drywall is equally important for long-term durability. Inspect for dents, cracks, or moisture damage over time. Familiarize yourself with basic drywall repair techniques to handle small issues swiftly—saving you the trouble of larger damages in the future.
Key Takeaways
- Taking the right measurements and selecting the correct drywall sheets is crucial for a successful installation.
- Proper hanging techniques, especially around windows, dramatically affect the final appearance.
- Do not forget to focus on seamless finishing through effective sanding and texturing.
- Learn from common mistakes to save time and effort in future projects.
- Commit to maintenance to keep your drywall looking fresh and intact for years to come.
FAQ
1. What are the different types of drywall used in installation?
There are several drywall types designed for specific applications, including standard (gypsum) drywall, moisture-resistant drywall for high humidity areas, and soundproof drywall for noise reduction between rooms. Choosing the right type of drywall for your project aligns with both functionality and aesthetic preferences.
2. How important is measuring drywall accurately?
Accurate measurements are crucial in the drywall installation process. Incorrect measurements can lead to wasted materials and increased costs. Use specialized drywall measurement tools to ensure precision when cutting and hanging your sheets, guaranteeing a better fit and finish.
3. What are some common drywall installation mistakes?
Common mistakes include mismeasuring, poorly finishing seams, and neglecting to stagger seams effectively. Awareness of these pitfalls can guide your installation toward a secure and polished outcome.
4. Can I texture drywall myself?
Yes! Texturing drywall can be done as DIY, using materials either bought from a store or made at home. Popular textures include knockdown and slap brush. Research various techniques before starting to determine which suits your project’s style best.
5. How can I decide if I should hire a drywall contractor?
Hiring a drywall contractor may be favorable if the project is large-scale, involves intricate installation techniques, or you feel insecure about accomplishing it yourself. They can offer professional advice, quick installation, and peace of mind, especially for those inexperienced with drywall work.
6. What is the estimated cost for drywall installation in 2025?
The average drywall installation cost varies based on geographic location, labor rates, and project complexity. Generally, expect costs to fall between $1.50 to $3.00 per square foot, including materials and installation fees. Always collect estimates and consult with professionals for accurate pricing tailored to your project needs.
7. How to properly maintain drywall after installation?
Routine inspections can aid in maintaining drywall; look for signs of cracks, dents, or water damage. Apply touch-ups using diy drywall repair methods for small issues and ensure that any moisture-related problems are remedied quickly to avoid long-term damage.